Routing Overview
With routing, you can have more fine-grained control over the processing of your log events. Topics allow you to select a subset of your events and send them to a custom processing pipeline. By mixing and rearranging pipeline steps, you can control how your event is transformed before being sent to it’s destination.
Topics
Topics apply a filter to select a subset of your events. Any matching event is sent to the pipeline which is attached to your topic.
Managing Topics
To manage your topics, you can head over to the Routing Page.
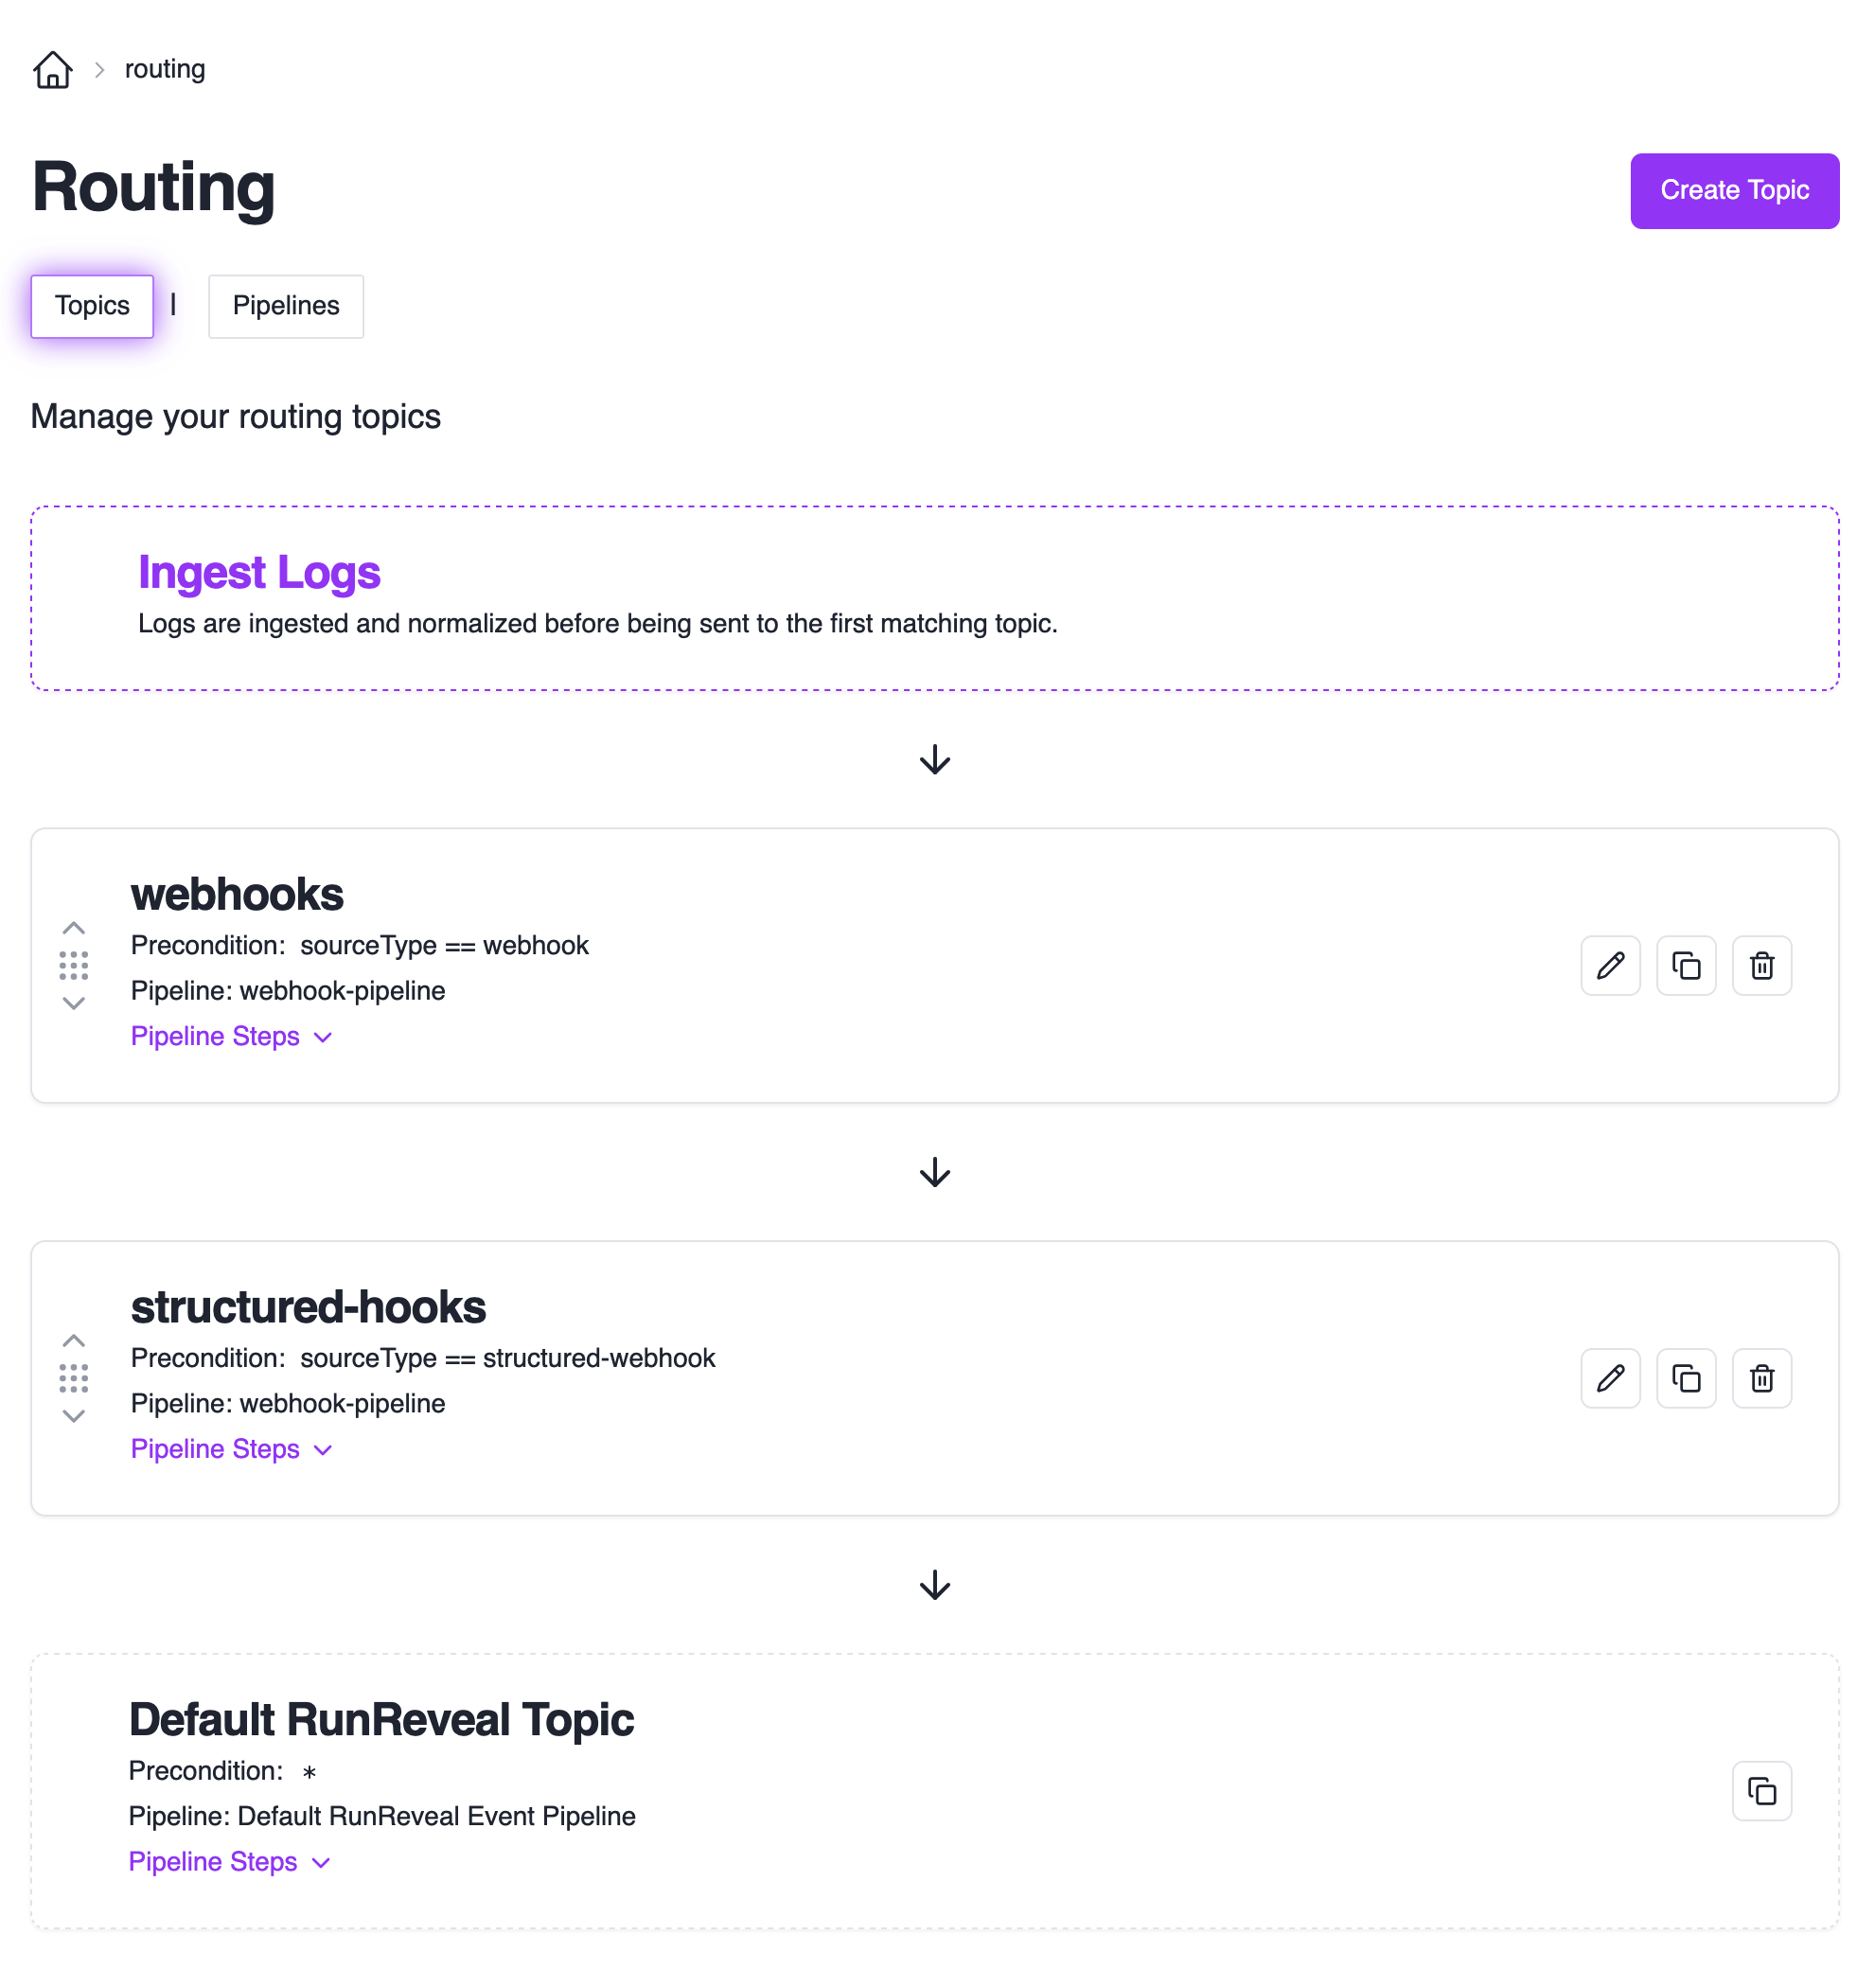
When events come in from a source, they are evaluated against each topic in the topics list from top to bottom. If the event doesn’t match any of your custom topics, then it is sent to the default runreveal pipeline. You can rearrange the order they are evaluated in by dragging them up or down the list.
Creating a Topic
Clicking on the Create Topic button will bring you to the topic creation wizard which will walk you through setting
up your new topic.

Each topic needs a name, and a precondition. The precondition is how you select which subset of events will be
routed to your topic. Use the Precondition Type drop-down to set up your selection criteria.
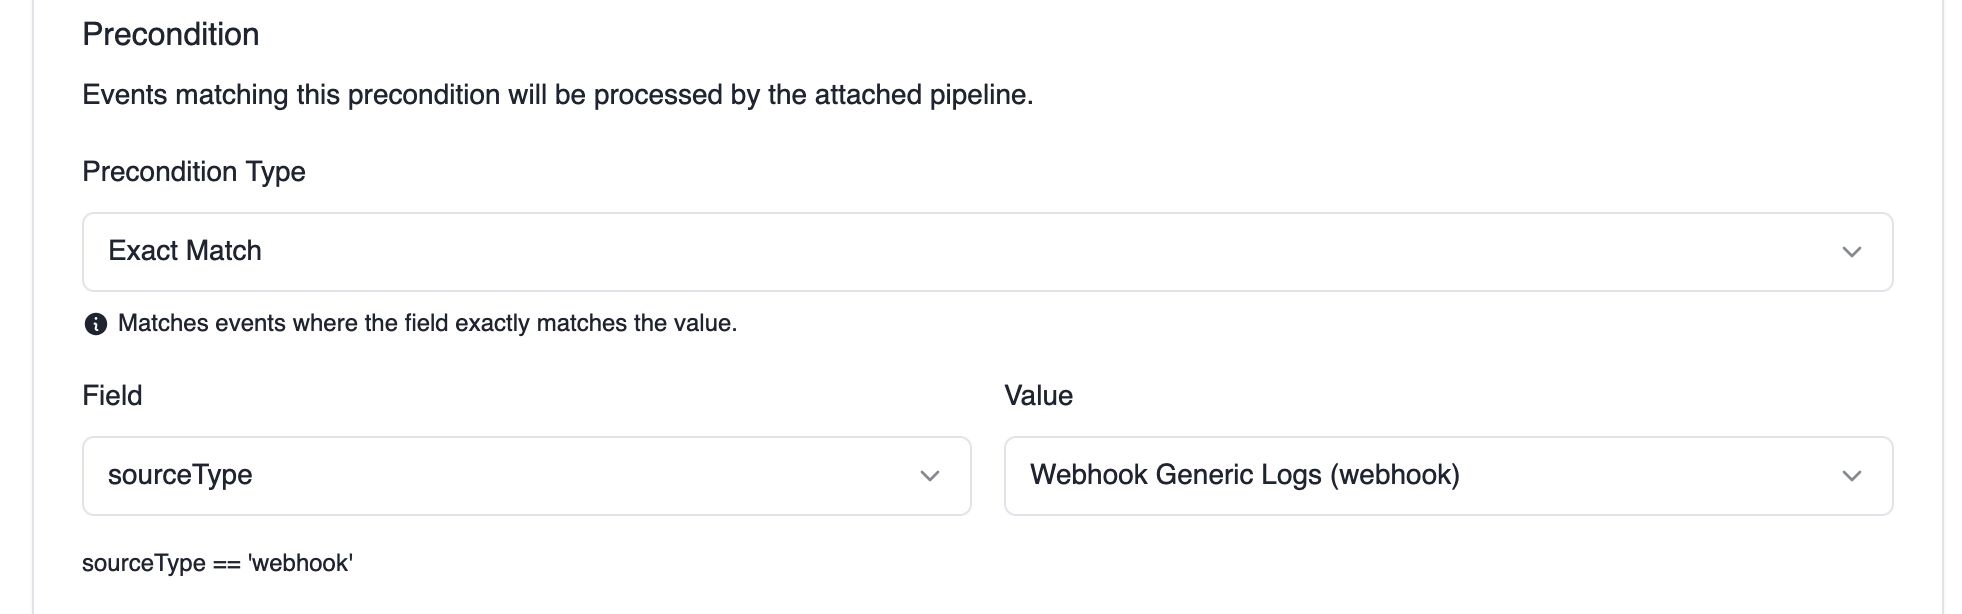
For example, the precondition above would match any events coming from webhook sources.
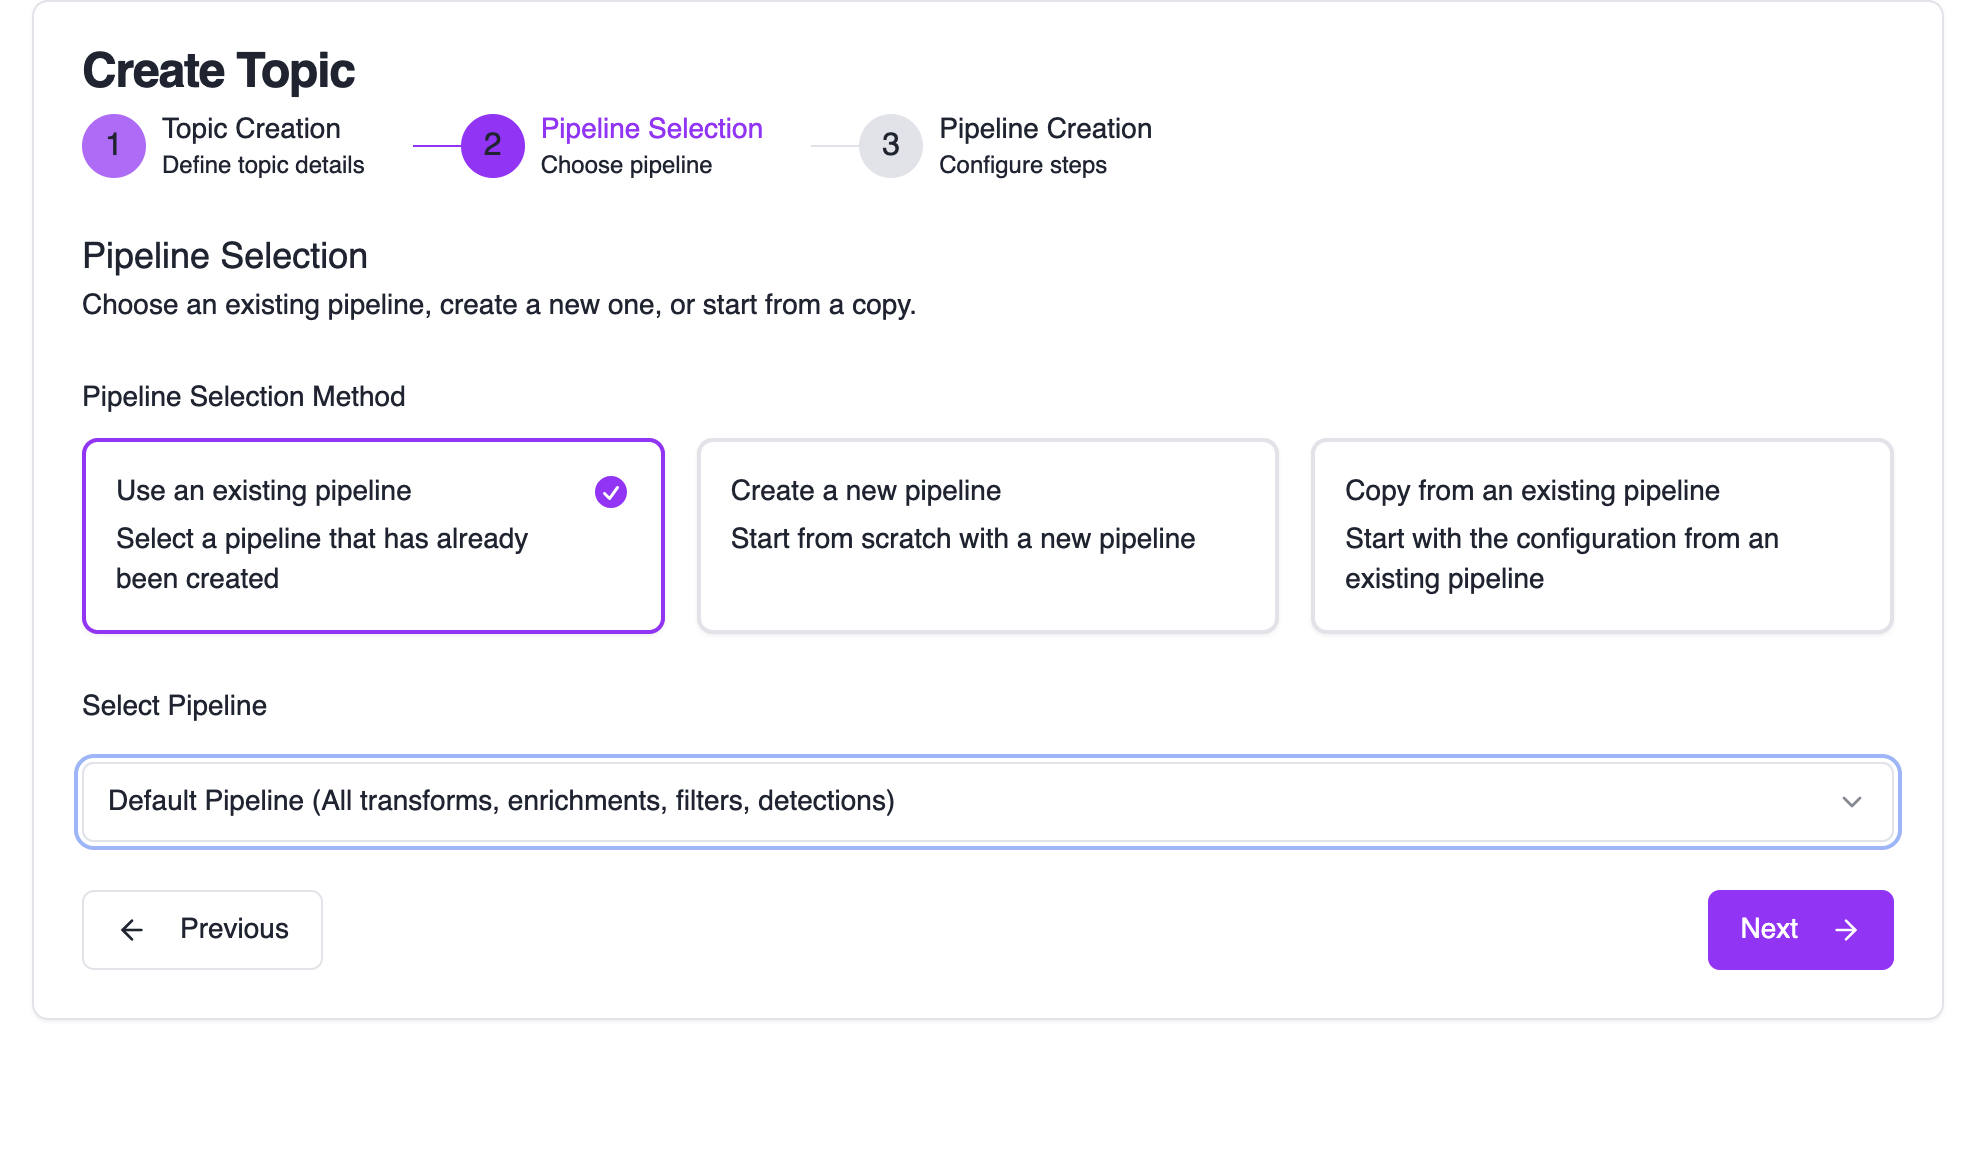
Next you configure where your matching events will go:
-
Use an existing pipeline: This option allows you to reuse your pipelines across multiple topics. For example, if you have multiple sources that you want to have a shared pipeline, you could make a topic for each source you want to match and just reuse the same pipeline with this option.
-
Create a new pipeline: Start with a fresh pipeline, and build it up from scratch in the next step.
-
Copy from an existing pipeline: This option allows you to build a new pipeline based on an existing one. For example, if you want to add processing on top of the default processing, you could use this option to copy the default pipeline and modify it in the next step.
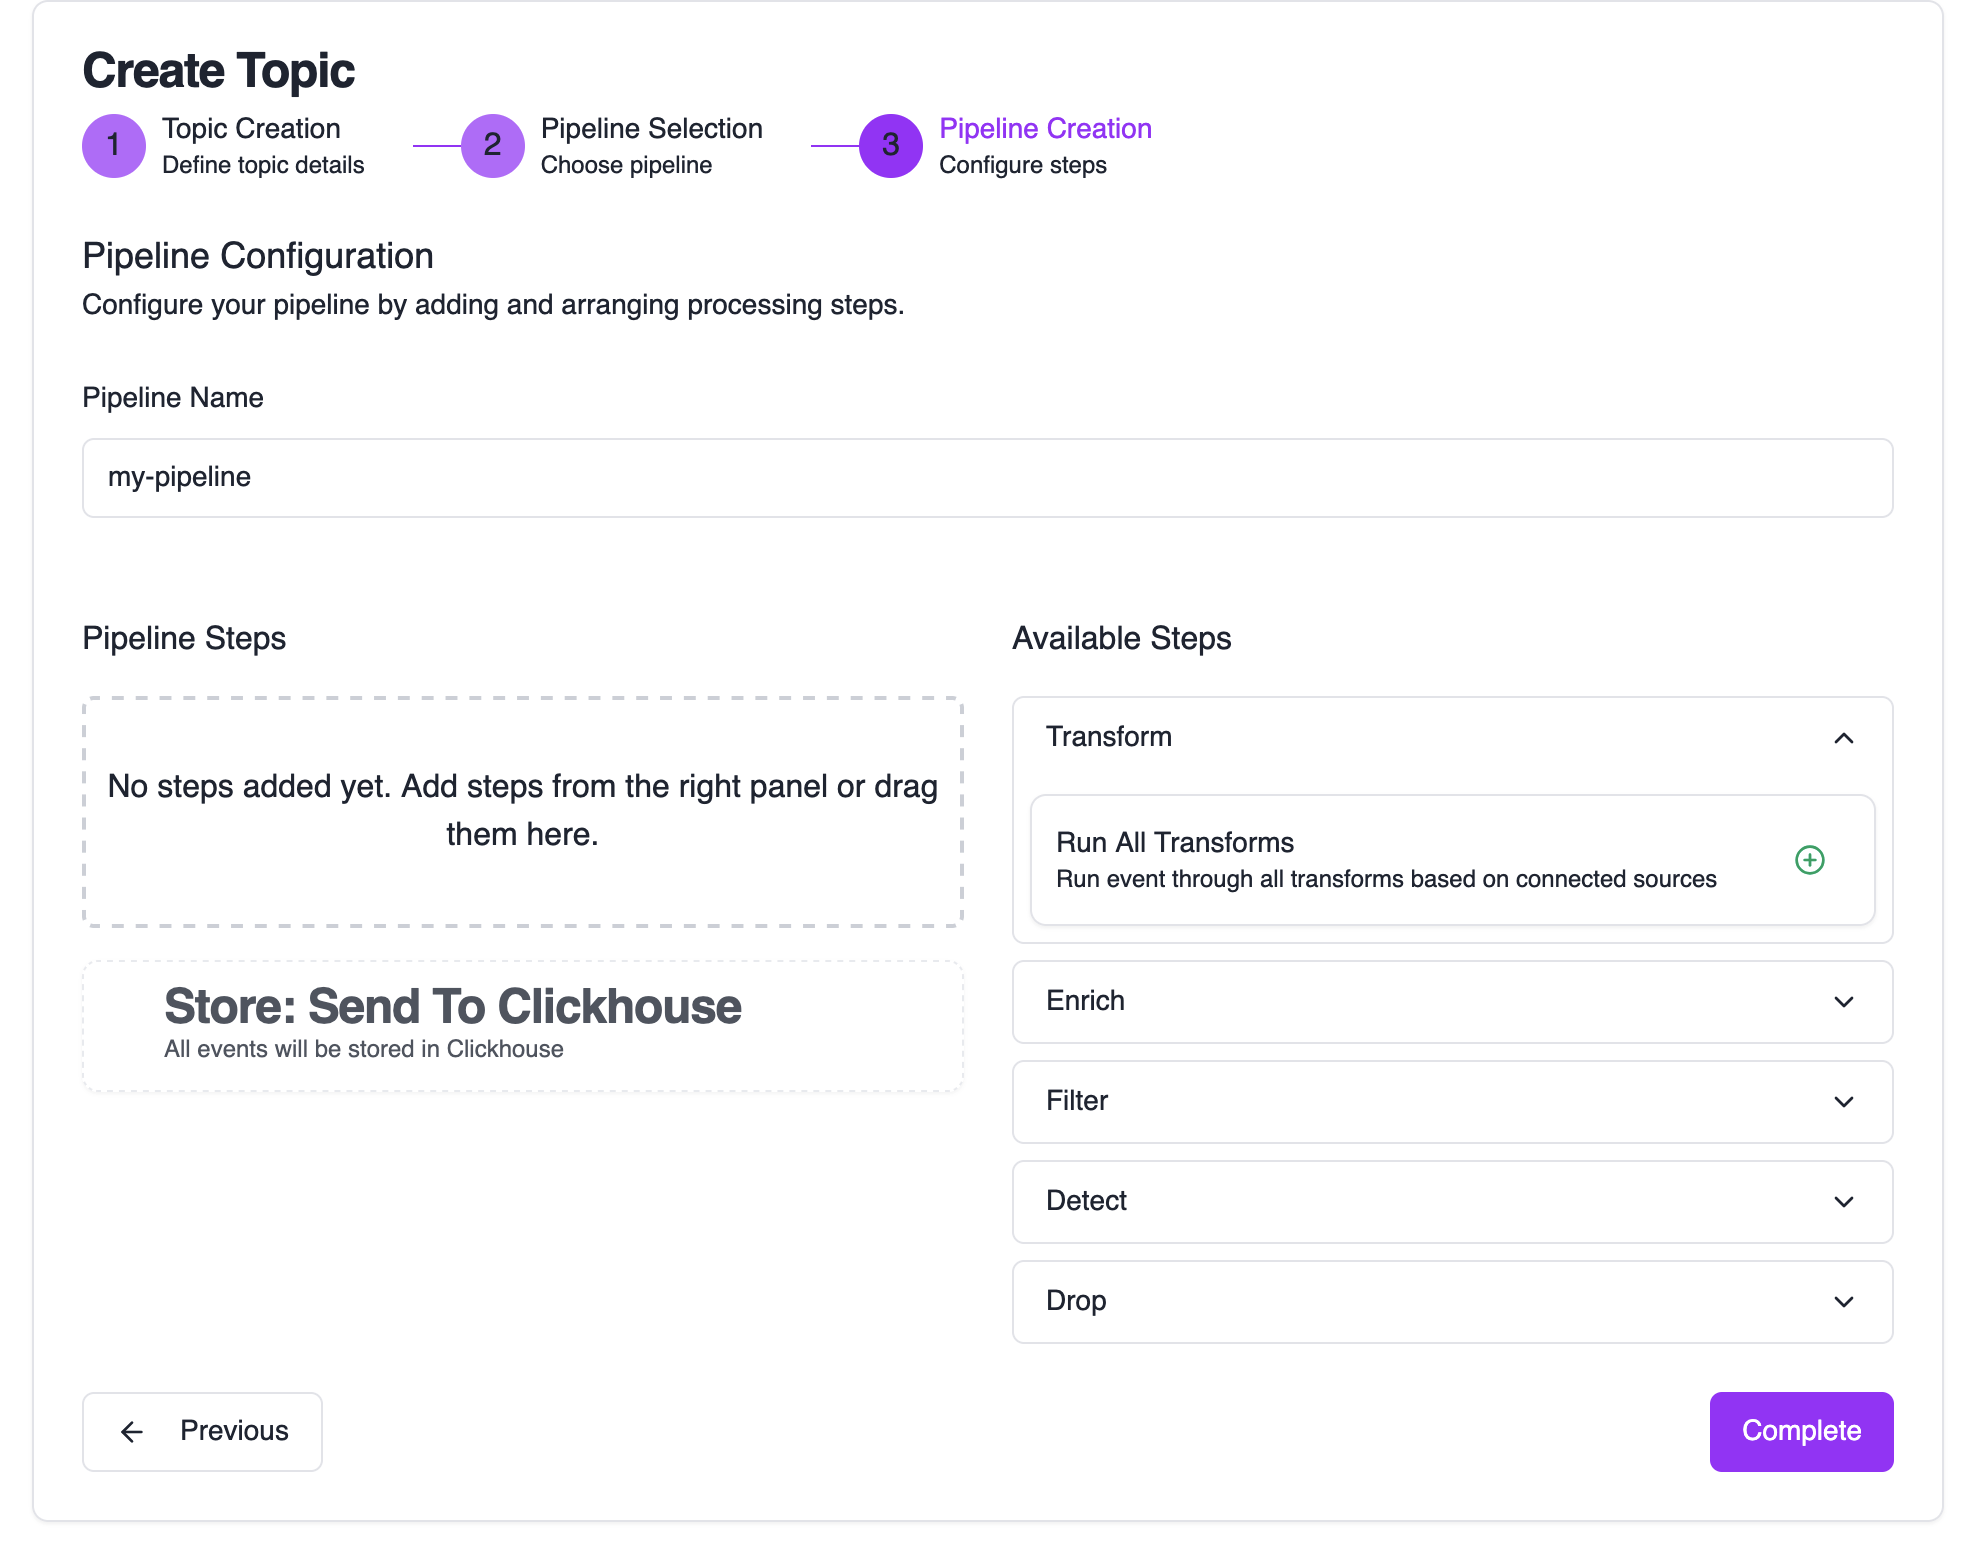
Next you are brought to the pipeline editor, where you can configure how your events are processed. For specifics, see the Pipelines section. Clicking complete will finish the wizard and set up your new resources.
Pipelines
Pipelines detail how an event is processed before being sent to it’s final destination. Pipelines are made up of steps which are evaluated in order from top to bottom. Each step consists of a function to apply as well as a precondition to select which events the step is applied to.
Pipeline step types:
- Transform: Apply a transformation to matching events, see the transform documentation for more details.
- Enrich: Apply an enrichment to matching events, see the enrichment documentation for more details.
- Filter: Apply source filters to matching events, see the filtering documentation for more details.
- Detect: Apply a streaming detection to matching events, see the streaming detection documentation for more details.
- Drop: Drops matching events, preventing them from being output to your destinations.
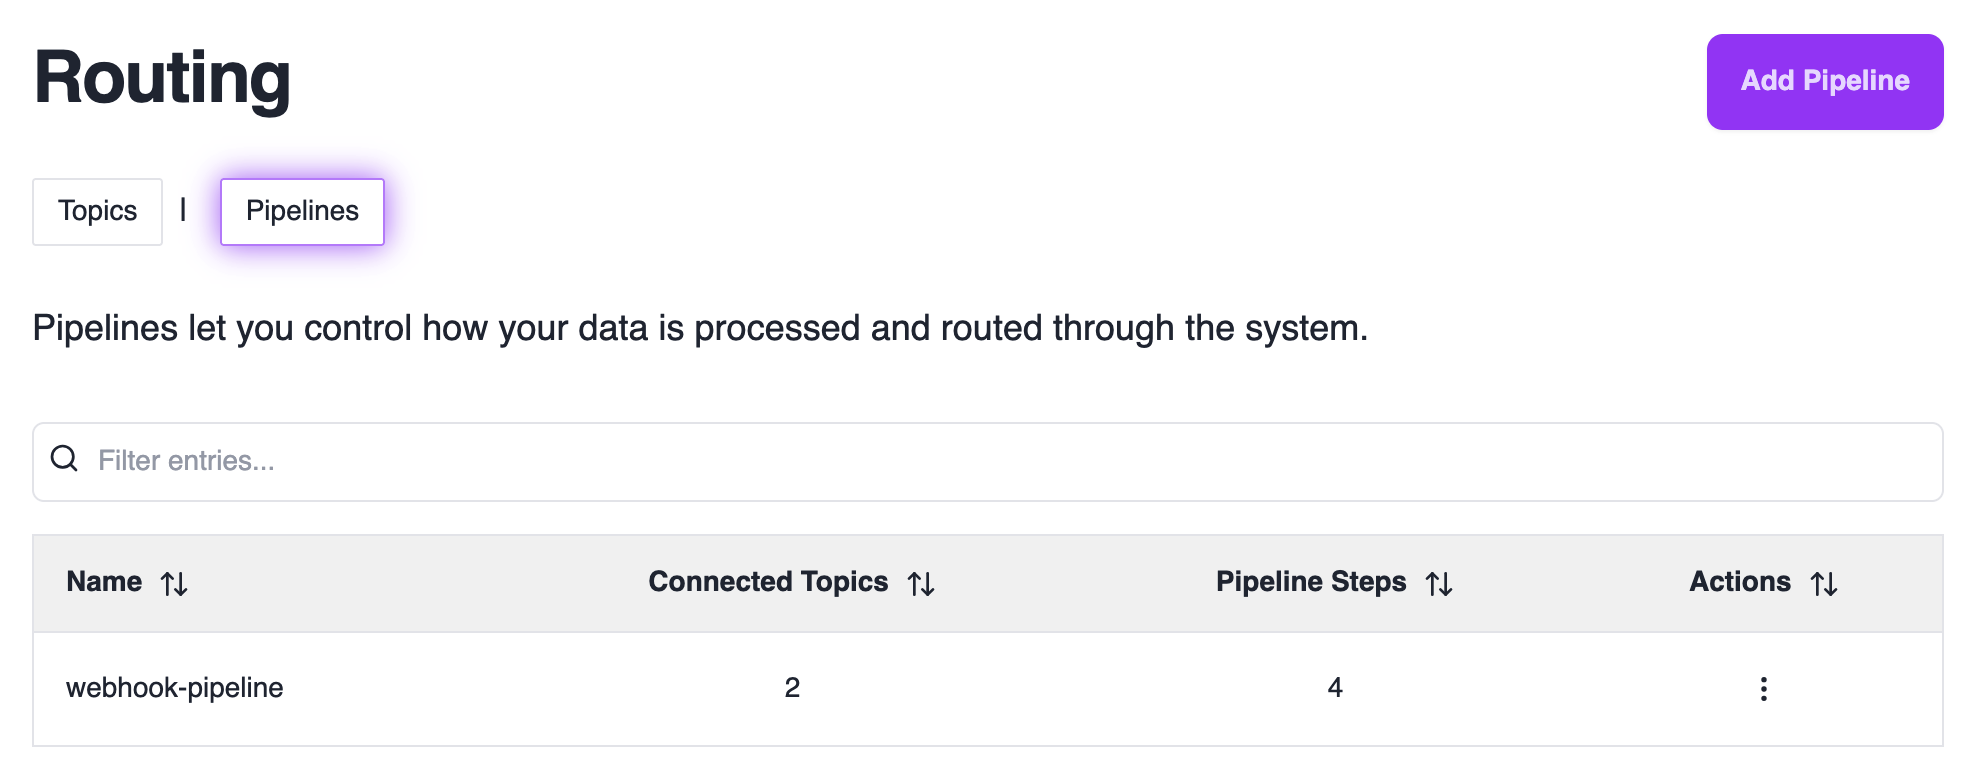
From the routing tab, you can create new pipelines as well as view/edit existing ones.
Creating a pipeline
Clicking Add Pipeline or editing an existing pipeline will bring you to the pipeline editor.
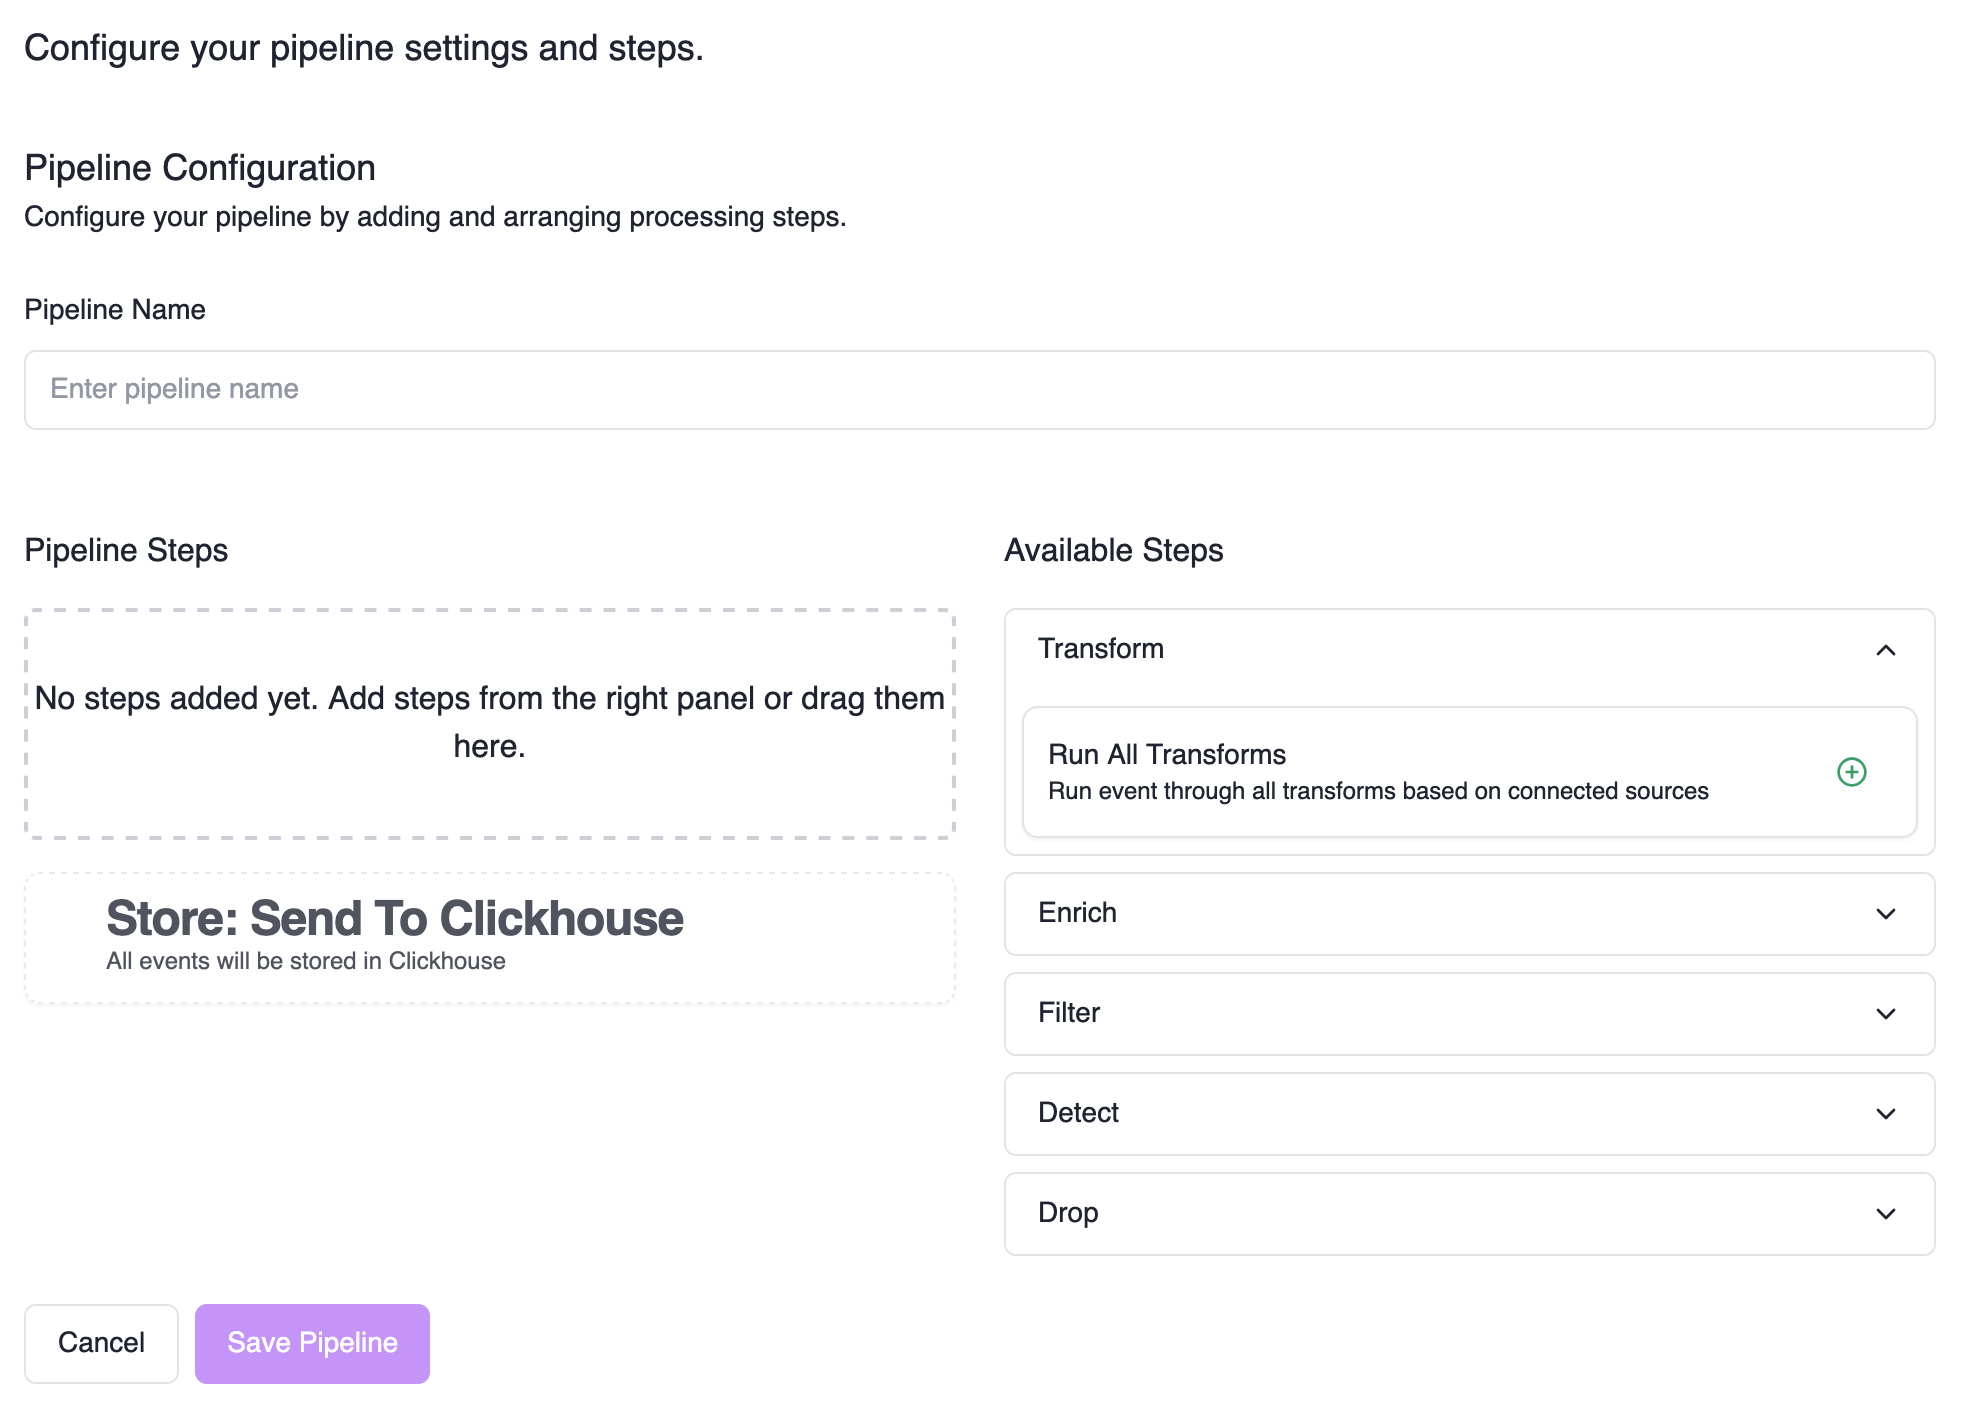
The left column is your pipeline, and the right column shows you which steps are available to be added to your pipeline. You can add a step by dragging from the right column into the left one. You can also drag individual steps in your pipeline up or down to change the order they are evaluated in.
Note: When editing a pipeline that is shared between multiple topics, the UI will prompt you to first unlock your pipeline. Changes made to a shared pipeline will effect all matching topics, do so with caution.