Teleport Cloud Audit Logs
These logs are emitted by Teleport Cloud to an S3 bucket and it's worth noting that the setup process on the teleport cloud side is slightly unique compared to other providers. They will ask you to run several commands in AWS Cloud Shell to instantiate a collection of teleport buckets.
Ingest Methods
Setup the ingestion of this source using one of the following guides.
If using the AWS External Audit Storage method for sending Teleport logs to AWS, perform the necessary setup first before finishing the RunReveal ingestion steps.
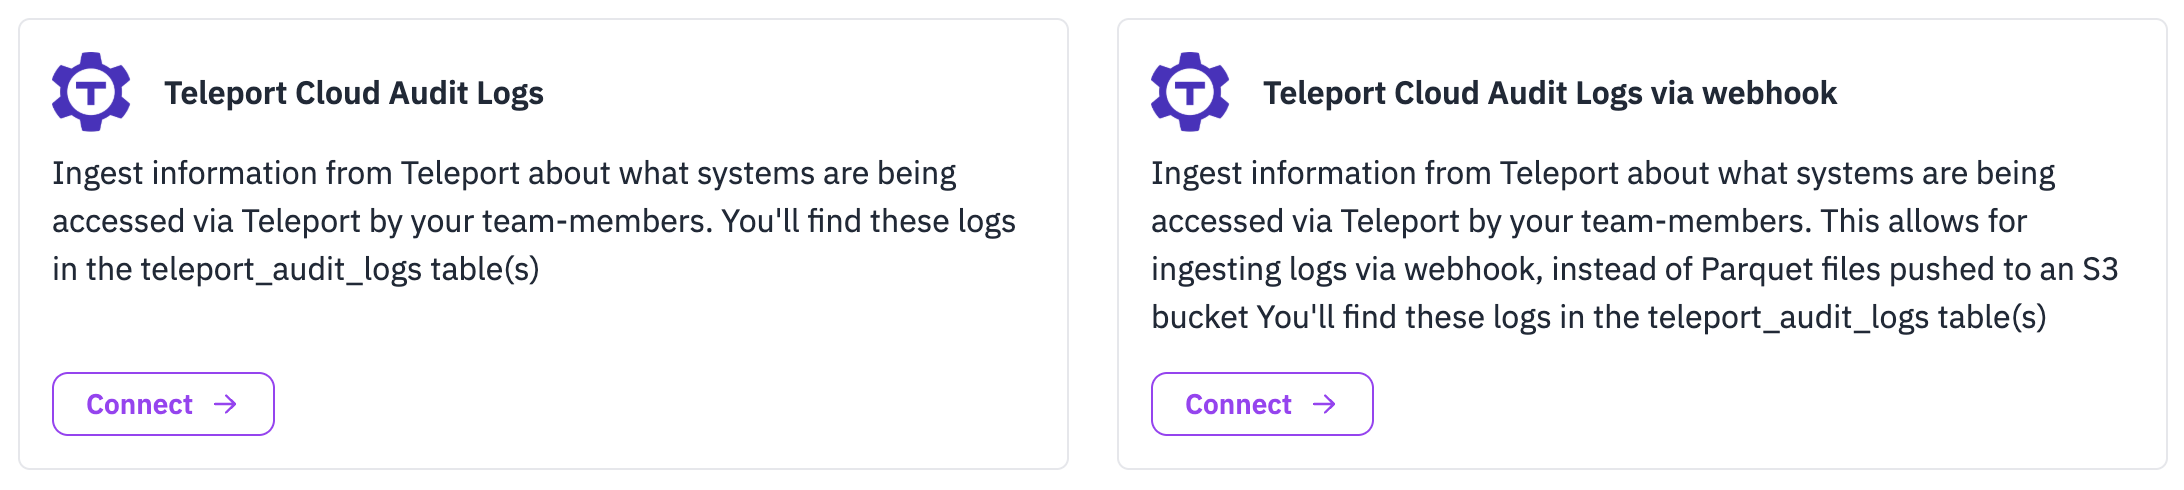
When you go to Sources, you will see a separate Teleport Audit Logs - Webhook tile for real-time delivery via Teleport's Event Handler plugin instead of object storage — see Webhook below.
- AWS S3 Bucket
- AWS S3 Bucket with Custom SQS
- Azure Blob Storage
- Google Cloud Storage
- Teleport Audit Logs - Webhook (separate source tile)
If using an AWS S3 bucket, use the following SNS topic ARN to send your bucket notifications.
SNS topic & Custom SQS. Use the ARN above in your event notification tied to your S3 bucket—the topic name must match (runreveal_…; hyphens in the source id become underscores). For Custom SQS, set the queue URL and region in RunReveal; see AWS S3 Bucket with Custom SQS.
Note: BYOC, On-Prem, and BYODB customers must use their AWS account ID in the ARN instead of 253602268883.
Setup
Object Storage
Teleport offers first party support for sending events to AWS. Otherwise you will need to setup your Teleport account to forward events to your cloud storage account most likely using their fluentd guide.
AWS External Audit Storage
At the end of the process you should be have a new bucket called something like:
This is the bucket you'll provide RunReveal with access to.
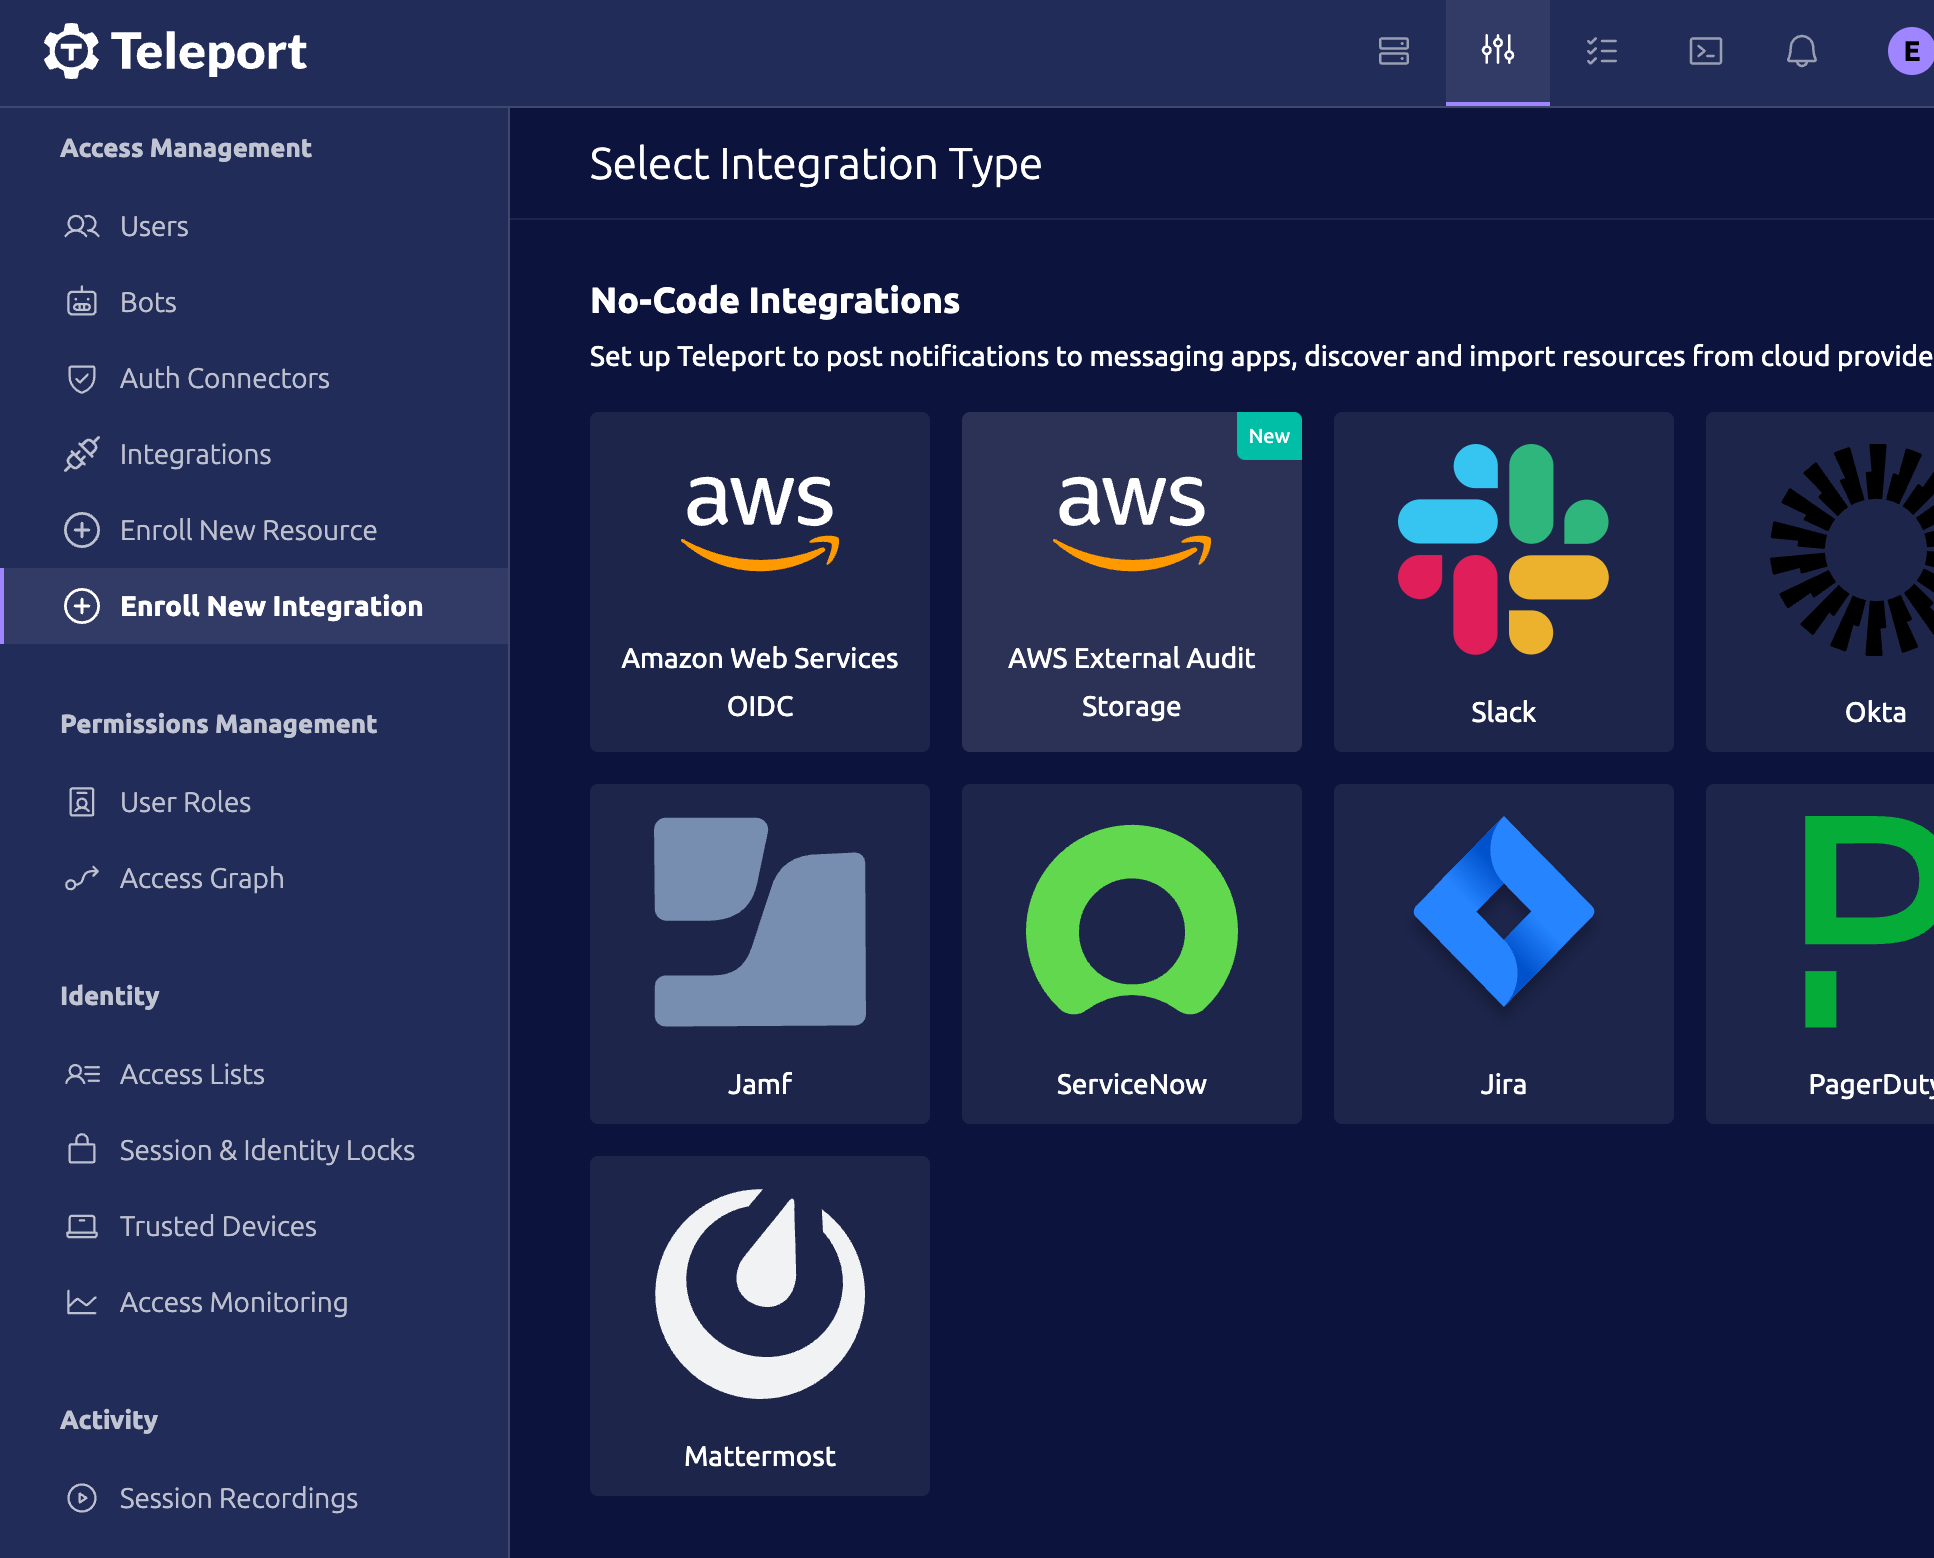
Their docs are available online, but under Enroll New Integration, you'll need to set up a next AWS External Audit Storage integration.
As part of the setup process, you'll provide teleport with a name for your integration, the iam role name you'd like for teleport to create, the bucket name you'd like teleport to create, and the bucket prefix.
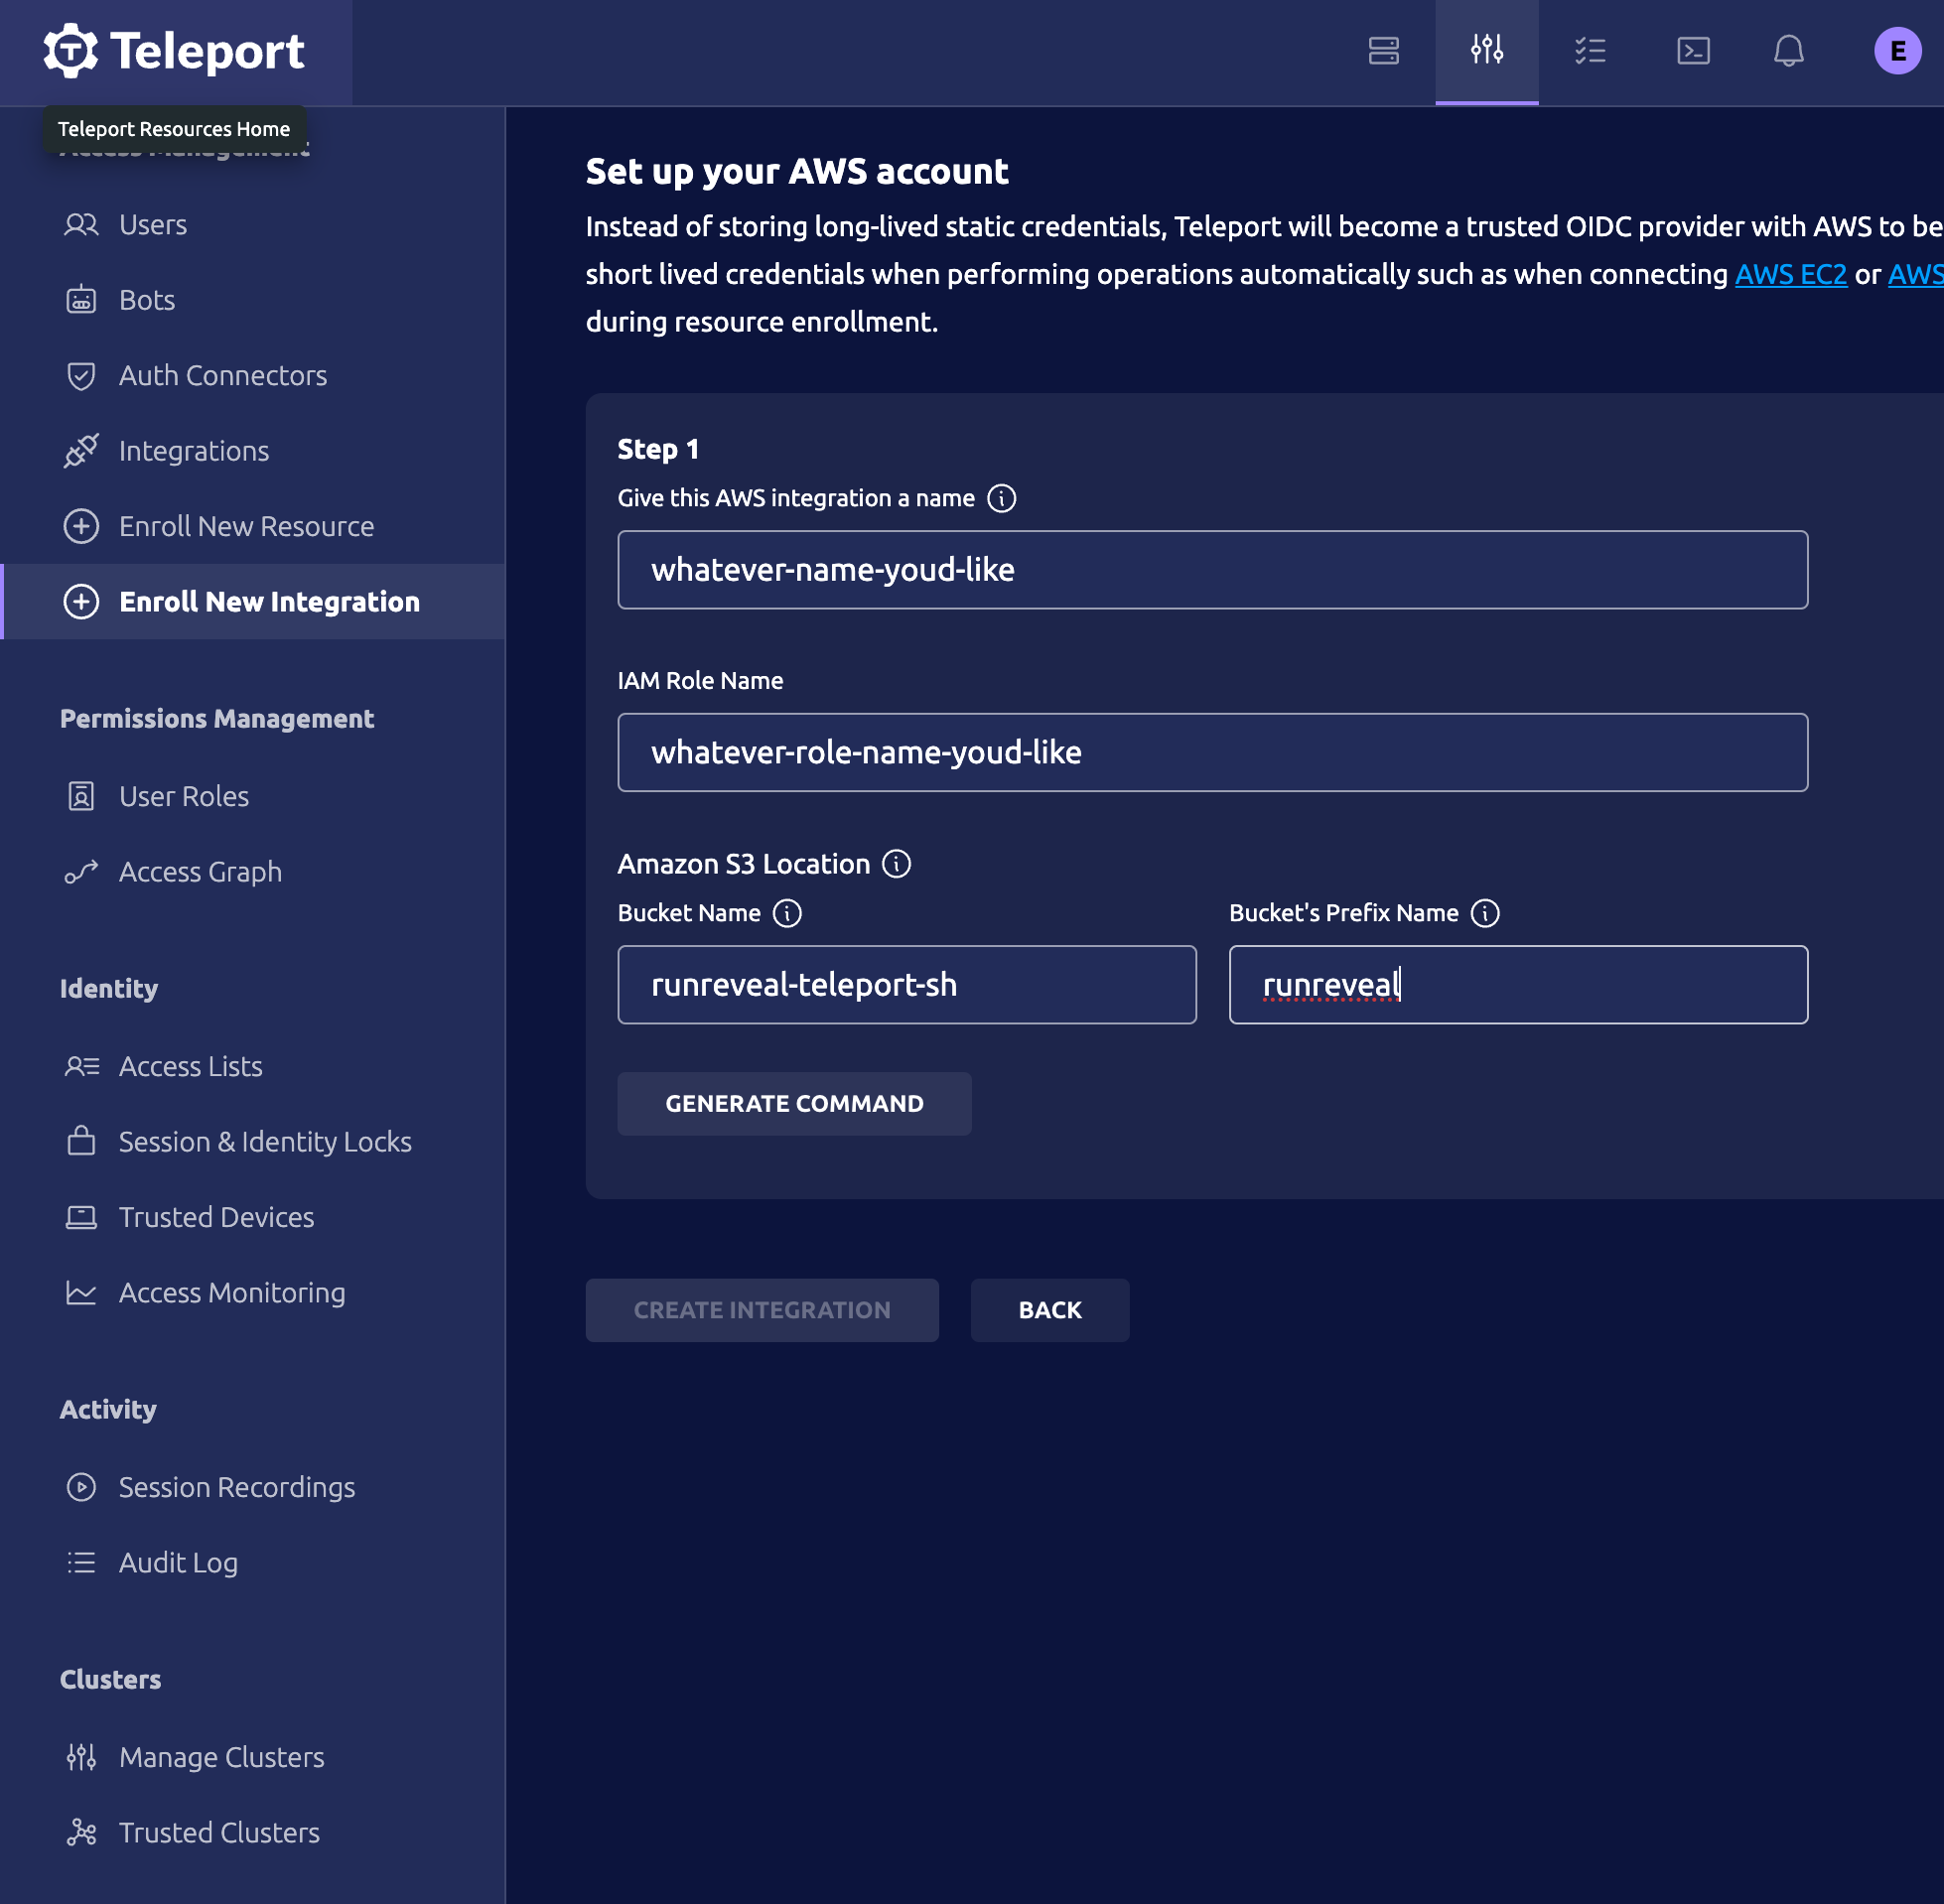
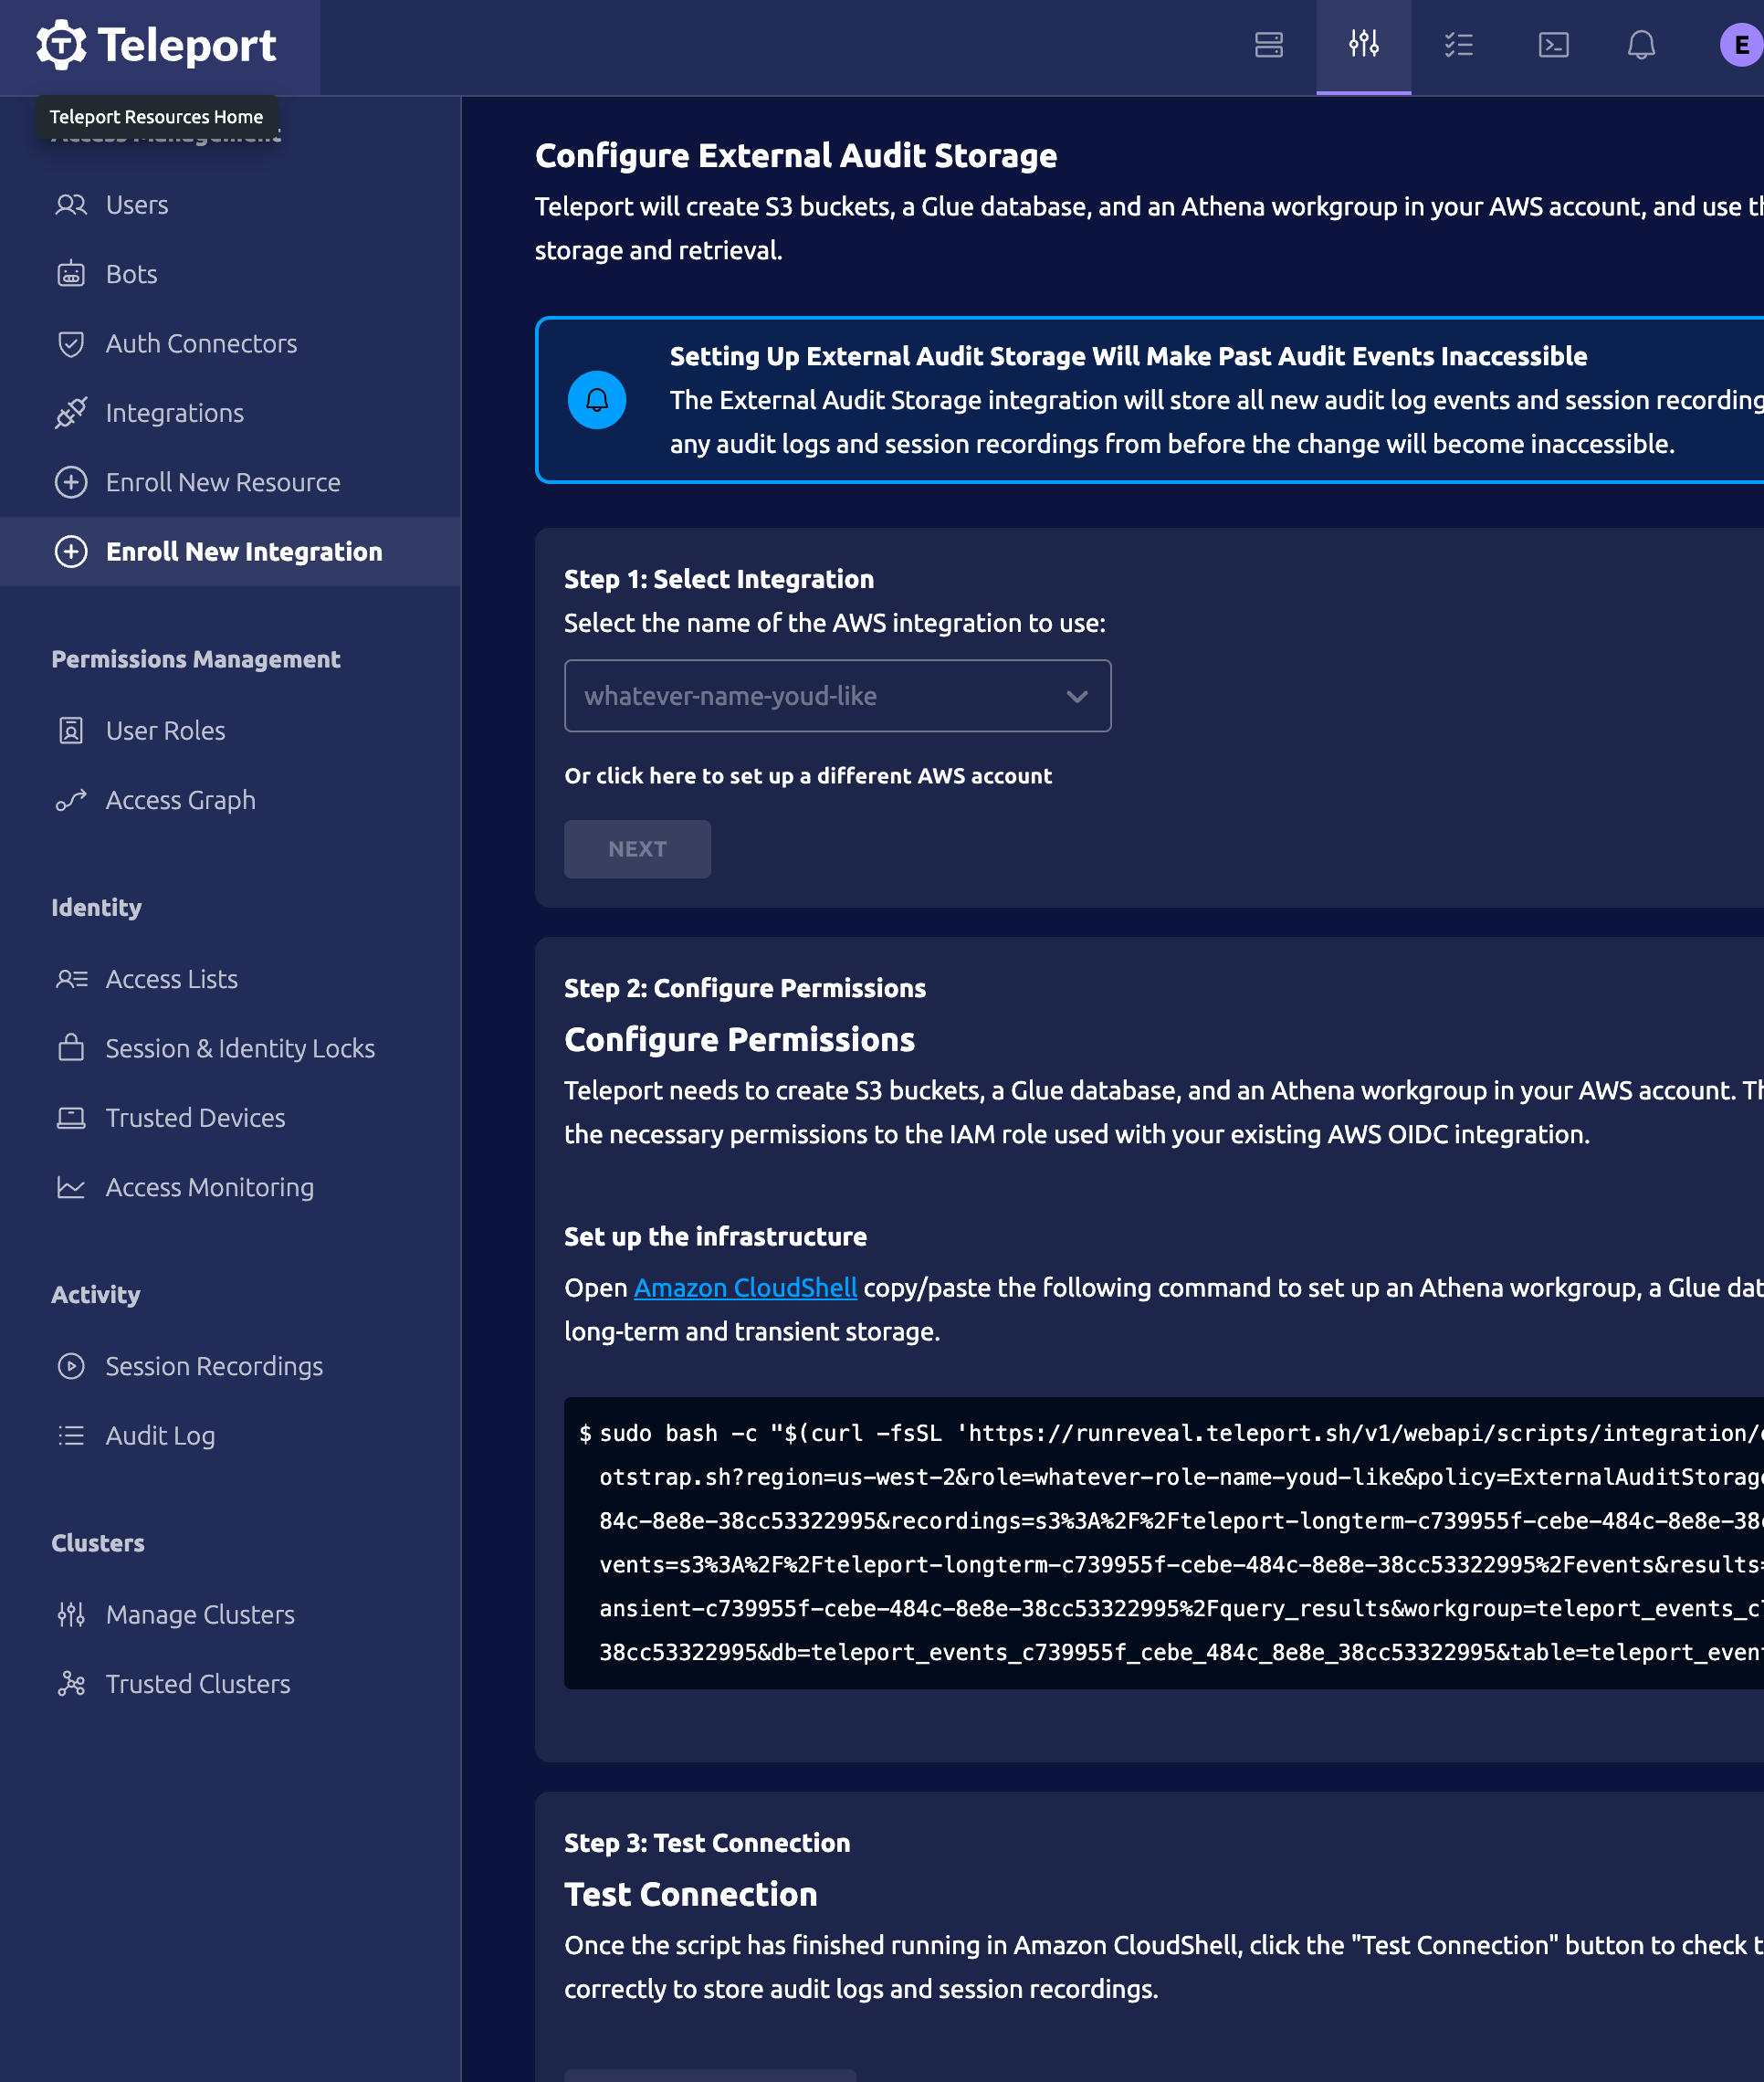
Once you provide these bits of information, you'll be given a Amazon CloudShell command to run. This will create the role and the bucket within your AWS account. Once you provide teleport with your role's name, including the AWS account ID.
Once you provide teleport with this information they will ask you to continue with the integration by running an Amazon CloudShell command one final time to provision your buckets, and finally test the connection.
Verify It's Working
Once added the source logs should begin flowing within a minute.
You can validate we are receiving your logs by running the following SQL query.
Webhook
For the best experience with Teleport audit logs in RunReveal, we recommend using the webhook integration method. This approach provides real-time event forwarding and better compatibility with Teleport Cloud's log format.
Basic Setup Instructions
The webhook integration uses Teleport's Event Handler plugin to forward audit events in real-time to RunReveal. For detailed setup instructions, refer to the Teleport Fluentd documentation.
Step 1: Create RunReveal Webhook Source
- Navigate to the RunReveal Dashboard
- Click "Add Source" and search for "Teleport"
- Select "Teleport Audit Logs - Webhook" as the source type
- Provide a descriptive name (e.g., "Production Teleport Audit Logs")
- Click "Create Source" to generate your webhook URL
- Copy the webhook URL - you'll need this for the Teleport configuration
Step 2: Configure Teleport Event Handler
Follow the Teleport Fluentd documentation to:
- Install the Teleport Event Handler plugin
- Create the necessary bot user and role
- Generate identity credentials
- Configure the Event Handler service
Step 3: Configure Event Handler for RunReveal
The Teleport Event Handler plugin can be configured to send events directly to a webhook URL. However, the specific configuration format depends on your Teleport setup and the Event Handler plugin version you're using.
Important: The Event Handler plugin configuration format varies depending on your Teleport deployment. Please refer to the Teleport Fluentd documentation for the exact configuration syntax for your specific setup.
General Configuration Steps:
- Configure the Event Handler to use your RunReveal webhook URL as the destination
- If using bearer token authentication, include the authorization header in your configuration
- Test the connection to ensure events are being forwarded successfully
Fluentd Configuration Example
If you're using Fluentd as a log forwarder, here's an example fluent.conf configuration:
Note: Replace YOUR_WEBHOOK_URL with the actual webhook URL provided by RunReveal in Step 1.
Configuration Note: The exact configuration format for the Event Handler plugin varies by version and deployment method. Always refer to the official Teleport documentation for your specific setup to ensure proper configuration.
Verify It's Working
Once added the source logs should begin flowing within a minute.
You can validate we are receiving your logs by running the following SQL query.
Schema
The following columns are exposed for this source. RunReveal applies schema normalization across all sources, ensuring uniform field names and data types for cross-source queries and reusable detection logic.
Table: teleport_audit_logs (62 columns)
teleport_audit_logs (62 columns)| Column | Type |
|---|---|
workspaceID | String |
sourceID | String |
sourceType | LowCardinality(String) |
sourceTTL | UInt32 |
receivedAt | DateTime |
id | String |
eventTime | DateTime |
eventName | String |
eventID | String |
srcIP | String |
srcASCountryCode | String |
srcASNumber | UInt32 |
srcASOrganization | String |
srcCity | String |
srcConnectionType | String |
srcISP | String |
srcLatitude | Float64 |
srcLongitude | Float64 |
srcUserType | String |
dstIP | String |
dstASCountryCode | String |
dstASNumber | UInt32 |
dstASOrganization | String |
dstCity | String |
dstConnectionType | String |
dstISP | String |
dstLatitude | Float64 |
dstLongitude | Float64 |
dstUserType | String |
actor | Map(String, String) |
tags | Map(String, String) |
| Column | Type |
|---|---|
resources | Array(String) |
serviceName | String |
readOnly | Bool |
rawLog | String |
uid | String |
user | String |
event_type | String |
session_id | String |
ei | String |
event | String |
event_data_uid | String |
code | String |
time | DateTime |
cluster_name | String |
event_data_user | String |
login | String |
user_kind | String |
sid | String |
private_key_policy | String |
addr_remote | String |
proto | String |
namespace | String |
server_id | String |
server_hostname | String |
enhanced_recording | String |
interactive | String |
session_recording | String |
participants | Array(String) |
server_labels | String |
session_start | DateTime |
session_end | DateTime |